Can’t Get 360° Ribcage Expansion? Your Pelvic Floor Might Be Blocking It
Have you been working on expanding your ribcage for 360° breathing and getting nowhere?
You try to breathe into your back ribs. You try to “relax.” You try to create width.
And still, the inhale feels stuck, shallow, or like it only goes into the upper chest.
Here’s a missing link that most people never consider:
True 360° expansion requires coordination between the ribcage and the pelvic floor.
If the pelvic floor cannot yield with the inhale, the ribcage often cannot fully expand either.
This is not because you need to try harder. It’s usually because your system doesn’t feel organized enough to allow pressure to distribute.
Why ribcage expansion and pelvic floor yielding are linked
A lot of people treat the pelvic floor like it’s separate from breathing. But when you inhale, pressure changes in your whole trunk.
A responsive pelvic floor doesn’t “relax” and disappear. It yields slightly to accommodate pressure, then recoils on the exhale.
When that yield does not happen, your body often chooses a protective workaround:
inhale goes up into the chest and neck
ribs stay rigid or flared
abdomen braces
glutes and inner thighs grip
the inhale feels like it hits a ceiling
So if your ribcage won’t expand, sometimes the real issue is not your ribs.
Sometimes it’s the pelvic floor staying “on.”
You can’t just relax your way into pelvic floor yielding
This is important, because it removes a lot of shame.
If your pelvic floor is guarded, it’s usually not because you’re not calm enough or not doing the right relaxation cue. It’s often because your pelvis is held in a position where your system uses gripping as stability.
In other words: the pelvic floor may be doing a job your body thinks it needs.
So instead of “relax your pelvic floor,” a better goal is:
Restore pelvic position and give your pelvic floor a reason to yield.
Two common pelvic positions that block yielding
There are different ways to get “stuck,” but two patterns show up all the time.
Pattern 1: Anteriorly tipped pelvis that needs to stack underneath
In this pattern, the pelvis is often tipped forward and the system can’t find a stable, stacked relationship between ribs and pelvis.
What you might notice:
rib flare or a “lifted” ribcage that won’t drop
low back tension
difficulty feeling back rib expansion
pelvic floor feels tight even when you exhale
A lot of the time, the first step is not more inhale. It’s organizing the relationship of ribs over pelvis so pressure can distribute.
Pattern 2: Pelvis shifted forward with inner-thigh gripping (adductors “on”)
In this pattern, the pelvis is often held in front of the body and stability is created by gripping.
This is where inner thigh (adductor) tension commonly shows up.
What you might notice:
inner thighs feel chronically tight or “always on”
glutes grip to feel stable
pelvic floor feels unresponsive
breathing feels stuck no matter how many cues you try
For many bodies, restoring the ability to access a more natural pelvic motion and reducing adductor guarding can create the conditions for the pelvic floor to yield again.
The tactile cue that helps people finally feel pelvic floor yield
If you’ve never actually felt pelvic floor expansion, it’s hard to change it.
One of the simplest ways to build awareness is a tactile cue.
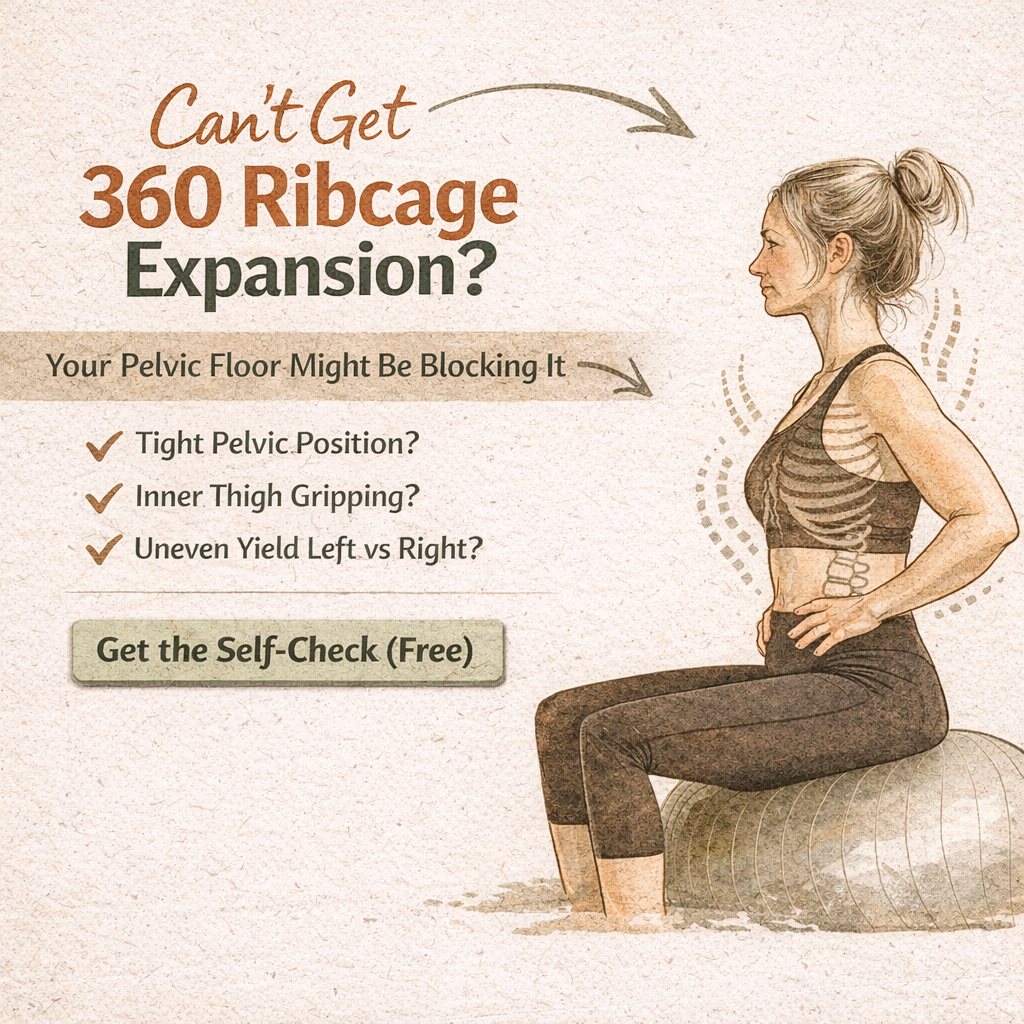
Try this: Swiss ball pelvic floor yield cue
Sit on a Swiss ball with feet grounded.
Gently explore a small range of pelvic motion until you find what feels like a neutral pelvis (not tucked under, not dumped forward).
Keep your ribs soft (no big chest lift).
Take a gentle inhale through the nose.
The goal: see if you can feel the perineum subtly expand into the ball on the inhale.
Not push. Not strain. Just a subtle yield.
Then on the exhale, feel a soft recoil.
If you feel nothing at first, that is normal. This is a coordination skill, not a willpower skill.
Why right-to-left imbalances matter
Many people don’t have the same pelvic floor response on both sides.
One side yields more easily. The other side feels “stuck,” numb, or guarded.
A common influence is asymmetrical gripping through the inner thighs. If one adductor line is holding tension differently, the pelvis may not move evenly, and the pelvic floor may not yield symmetrically.
This is one reason generic “relax your pelvic floor” advice fails.
You can’t cue symmetry if the system doesn’t have symmetrical options.
What actually changes this: train the pelvic floor to yield bilaterally and ipsilaterally
This is where most people need a plan, not more information.
In my 360° Breathing course, the Pelvic Floor Openers section includes exercises that place your pelvic floor in positions where it can learn to:
yield bilaterally (both sides together)
yield ipsilaterally (one side at a time)
coordinate with ribcage expansion so 360° breathing can finally feel real
This is especially helpful if you:
feel stuck in ribcage expansion no matter what you try
notice inner thigh gripping
feel one-sided tightness or imbalance
feel pressure instead of expansion on inhale
The key takeaway
If your ribcage won’t expand, it might not be a ribcage problem.
It may be that your pelvic floor is not yielding, and without that yield, your system won’t allow pressure to distribute into a true 360° inhale.
The fix is rarely “relax more.”
It’s usually pelvic position + inner thigh behavior + pressure coordination.
If you want a guided progression that trains pelvic floor yield and ribcage expansion together, start with my 360° Breathing Mini Course and go straight to the Pelvic Floor Openers.
If you need the broader framework for building expansion through the whole ribcage, read 360 Breathing: The Key to Optimal Pressure Management and Pain-Free Movement.
*This is educational, not medical advice. If you have pelvic pain, prolapse symptoms, or urinary/bowel issues, consider working with a pelvic health professional alongside breath and movement work.