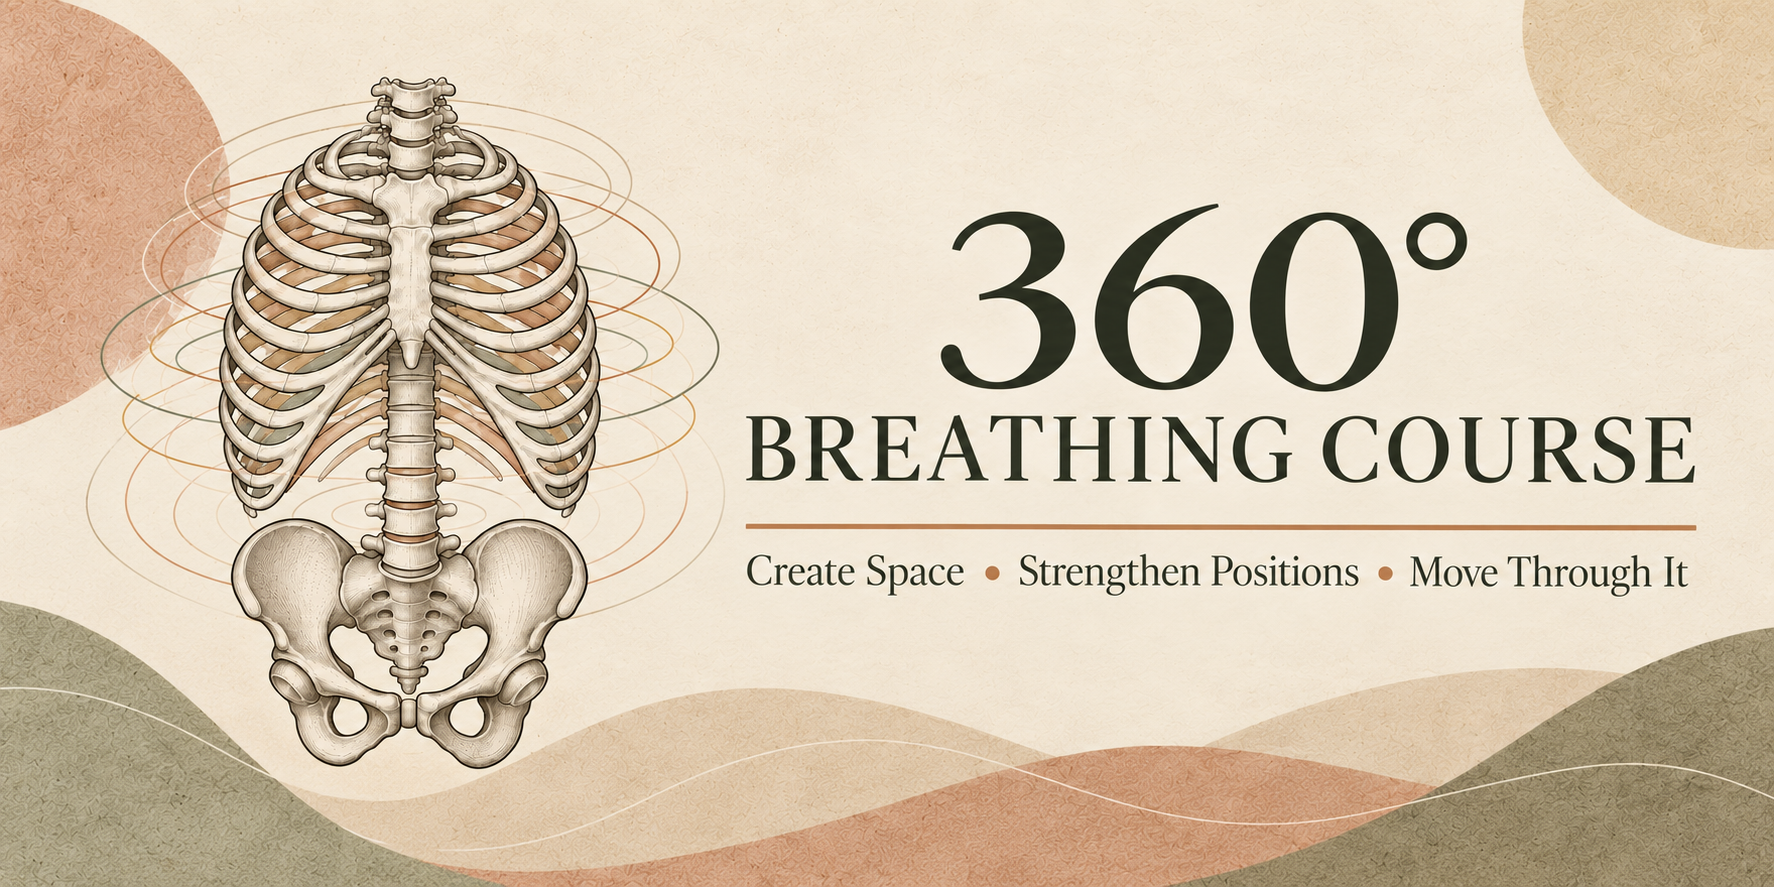
360° Breathing Course
Create the space. Build the strength to keep it. Carry it into movement.
When I watch someone breathe, I notice where the movement starts. The front ribs lift. The belly pushes forward. The shoulders rise before the rest of the rib cage moves.
Those details give me a place to begin. Before I ask for a deeper breath, I want to know whether a different position or a little support makes breathing easier.
That is where this course starts. Then we build the strength to maintain those options as your arms and legs move, you rotate, and you come up into standing.
Learn to create space, build strength in those positions, and carry breathing support into movement. The 360° Breathing Course includes video instruction, written lessons, a downloadable Posture & Breathing Map, and six guided flows to help you choose a starting point and build a repeatable practice.
If breathing exercises have felt forced, start here
Maybe you have tried to breathe into your belly, pull your ribs down, or send air into your back. But the cue leaves you bracing harder, flattening your chest, or working through your neck.
In this course, I help you notice what changes when you adjust the position, support, or effort. You will practice rib movement, pelvic control, and shoulder and neck support, then bring them together under load.
You do not need to force a bigger breath to begin.
What 360° breathing means here
We explore expansion and recoil through the front, sides, and back of the rib cage, along with the response of the abdominal wall and pelvic floor.
That does not mean every area must expand equally in every exercise. In a chest-opening position, you may notice more movement through the front. In another position, the side or back ribs may be easier to feel.
I want you to recognize those differences without losing the position you are practicing. You will learn to distinguish chest opening from rib flare, support from hard bracing, and an exhale from collapsing your chest.
Three phases, one connected practice
1. Create the Space
Use supported positions, gentle release work, and breathing feedback to explore movement through the ribs, pelvis, hips, shoulders, and neck.
A ball, towel, or roller gives you something to feel against, so you can notice where movement is available and where you are adding effort.
2. Find Strength in Its Length
Add strength while maintaining the positions you have learned. Reaching, leg movement, bridges, and supported holds introduce more demand without asking you to stop breathing.
Here, you begin to notice whether the chest stays supported when an arm reaches or whether the lower abdomen shortens as a leg moves.
3. Move Through It
Bring the practice into rotation, hinging, standing, and weight transfer. Coordinate the arms and legs while maintaining trunk support.
The goal is to give you options you can use as you move, rather than a position you can only hold on the floor.
Choose a starting point that fits your body
The downloadable Posture & Breathing Map includes five starting paths:
Extension / rib flare
Posterior tilt / flat back
Swayback / anterior shift
Compressed / flexion-dominant chest
Shifted / rotational patterns
Each path connects exercises to the pattern you are noticing. A Full 360° Course Flow offers a broader starting point if no single pattern fits clearly.
Use the map to choose where to begin, then pay attention to your response. You do not need to complete the entire exercise library in one session.
What is included
Video lessons with written setup, movement, and breathing cues
Education on breathing patterns, expansion, recoil, and pressure control
A progressive exercise library covering the ribs, pelvis, hips, shoulders, and neck
The downloadable Posture & Breathing Map
Six guided follow-along flows: five posture-specific flows and one full-course flow
Suggested dosages and progressions to help you build your practice
Work through the foundational lessons at your own pace. Once you know the exercises, use selected lessons for a focused 10–15 minute practice or follow a longer guided flow.
Not sure which posture pattern is yours?
If you work through the posture section and still aren't sure where you fall, send a side profile photo to info@rootforcemn.com and I'll point you toward the right exercises for your specific pattern.
That's included. No extra cost.
What people are saying
“The RootForce breathing work has taught me how to release the muscles in my neck.” — Carol
“Kelly's knowledge of the body and human movement runs deep. However, it is her ability to communicate nuance with clarity and warmth that will help you achieve meaningful change.” — Christy J
“I am so grateful for Kelly's wisdom and expertise. The lessons and guidance she has created offer a wealth of insights into breathing, mobility, pain relief, and so much more.” — Mary T
This course is for you if
Breathing cues leave you confused or working harder
Your ribs feel difficult to move, or one side responds differently
You notice neck, jaw, or shoulder effort when you breathe
You want to connect breathing practice with strength and movement
You want guidance on choosing exercises instead of guessing from a large library
Props
The course uses props for feedback, positioning, and resistance. Depending on your exercise path, these include a small Pilates ball, yoga block, Swiss ball, release ball, long foam roller, resistance band, and light hand weight, along with a wall or sturdy chair.
You do not need every prop to begin. A rolled towel can substitute for a small ball or block in some supported exercises. Check the setup for each lesson before choosing a substitute.
Learn to create space, build strength in those positions, and carry breathing support into movement. The 360° Breathing Course includes video instruction, written lessons, a downloadable Posture & Breathing Map, and six guided flows to help you choose a starting point and build a repeatable practice.
Questions? Email info@rootforcemn.com